We previously went over the most common beginner mistakes in knife making. Today, I will show you 7 tips you can apply practically in your work. The goal here is to improve and also to speed up your progress in knifemaking. Just because I made a lot of mistakes in the past, that doesn’t mean you should do it also.
Remember guys, learning from your mistakes is good but learning from someone else’s mistake is even better. The biggest emphasis in this article will be put on the practical side rather than on the philosophical side of knife making.
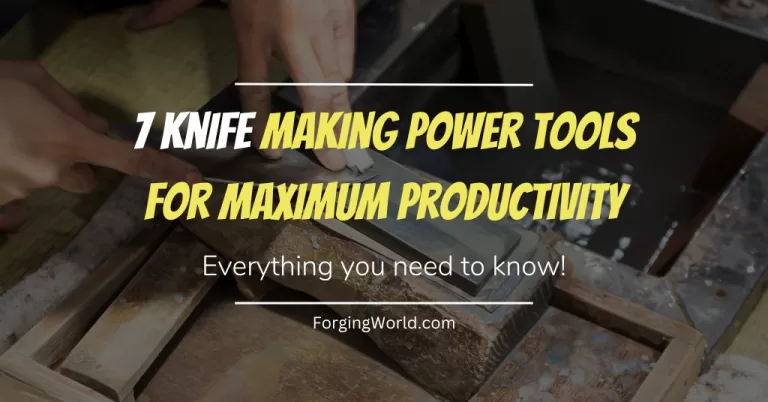
7 Practical Knife-Making Tips for Beginners:
- Safety Comes First
- Always Test Mystery Steel
- Do your Homework On Heat-Treating
- Start With Stock Removal
- Buy Minimal Tools
- Learn How to Drill Properly
- Use Propane Forge
Now, let’s start with analyzing each one in greater detail.
1. Safety Comes First
I have been speaking about this so many times that I even lost counting. The reason for that is very simple. If you are not safe during knifemaking work, you should not work. Anyhow, you should ALWAYS wear your necessary safety equipment, with safety glasses being one of the crucial ones.
Others include earplugs/earmuffs, respirators, gloves, and proper clothing. Yes, wearing the proper clothing is essential when working in any kind of workshop. You cant wear anything you want. What I strongly suggest is that you should put on your safety glasses every time you enter the shop. That way it will become a habit that can literally save you from becoming blind.
At the beginning of my knifemaking journey, I was one of the guys who thought wearing safety glasses is only for clumsy ones. So, I decided not to wear it. Fortunately, that didn’t last very long as one day a small bit of steel popped near my eyes. If that small piece hit my eye, I would be severely injured.
2. Always Test Mystery Steel
There is a big tendency among beginners to use mystery steel for many reasons. The first is that it is easily available. In most cases, things like leaf springs, railroad spikes, saw blades, and files are very easy to come by. While all of these materials can produce a good knife, you can never be 100% sure. For example, old springs are prone to cracking.
Just because most of them are made out of 5160 steel, it doesn’t mean all of them are. This is where tests like spark test, file test, and break test come in very handy. After using these tests, you will have a general idea of what material you are dealing with and whether it is even worth trying. On the other hand, if you jump straight into work, you can expect anything at the end. There is nothing more frustrating than having your blade ruined after doing all you have supposed to do.
3. Do Your Homework On Heat-Treating
Not knowing how to heat treat a knife as a knife maker is the same as not knowing how to prepare food as a chef. Unfortunately, most newbies don’t take enough time to really dive into learning the heat-treating process. Read a book, watch a video, or listen to a podcast. Do anything that will get you well-equipped with a good knowledge of heat treatment.
Otherwise, you are headed for a big problem. Learn the difference between normalizing and annealing, what quenching oil should you use, and the ideal temperatures for tempering. These are all crucial things you have to know as a knifemaker, even as a beginner. Of course, you don’t have to have a master’s degree in metallurgy but you have to know the fundamentals.
4. Start With Stock Removal
I see many guys jumping straight into hammering the hot piece of steel without any good knowledge about what they are actually doing. Most of them saw one episode of Forged in Fire and got hyped up. Just because you saw someone do something, doesn’t mean you should do it also.
Stock removal is a much easier technique to use which makes it ideal for all novices in this field. The key difference between forged knives and stock removal knives is that forged knives are hammered into a shape while the other one is ground into the desired shape.
So, it is hammering vs grinding. Since stock removal is generally both easier and faster, I would strongly suggest starting with it. And then as you gain more skills and equipment you simply move on to forging.
5. Buy Minimal Tools
You decided to start with knife making. Great news. The next question you have to ask yourself is what do you really need? The answer is very simple actually. You need just a couple of handle tools. That’s it. You don’t need a $2000 belt grinder and a $5 power hammer. This is the trap most beginners fall into. By thinking you need more than you actually do, you spend a lot of money on tools you don’t actually need.
Some people think that expensive power tools will make them better knife makers. I mean sure, they help, but that it is. They just help but they don’t make you a good or bad knifemaker. Most of the time on youtube you will see many guys with fancy equipment. However, most of them are experienced knifemakers who do this for a living. Since you are not yet on that level, you don’t need all of that. That being said, start small and keep improving your skills.
6. Learn How to Drill Properly
Drilling is one of the fundamental skills you should learn as a knifemaker. And you should also learn it right. This is why having a drill press is recommended. Of course, you don’t need to spend a fortune on this machine. Instead, you can buy a surprisingly good drill press for just a few hundred dollars. This one allows you to make a nice, precise hole required for knifemaking purposes.
Keep in mind that there is more to drilling holes than just chucking it up on a drill press and cranking away. There’s a sequence of things that you can do to make holes run square to keep drill bits from walking all over the work. For instance, if you simply use a good old twist drill, it will probably walk over the material before biting in, resulting in an uneven hole.
The first thing you need to do is to buy a good quality vice that will hold the blade tight. After that, use a stub drill to make a shallow hole of the right diameter. Then swap it for the twist drill and drill the full depth.
7. Use Propane Forge
This is probably one of the most important practical things you can do to speed up your progress as a knifemaker. As you can see, propane forges are getting more and more attention among beginners. The reasons for that are many, including availability, price, and simplicity. Namely, propane forge is far easier to use than coal forge for example.
You don’t have to worry so much about losing the fire as you would do with coal. This makes the knifemaking process much easier for beginners as they can focus more on working the blade. For most people learning about heat-treating, steel, and forging techniques, and tools are typically too much to handle at the same time. Adding to that fire management would be impossible.
All you have to do is to turn on the burner and tank. You also don’t need to wait as much with the coal forge in order to reach the required forging temperatures. Despite surrounding myths that you cant forge weld in a propane forge, you actually can if it is properly installed. Propane forge is also good for productivity as you can heat multiple blades at the same time. All in all, I strongly recommend it, at least in the beginning.